Export, import, and migrate game data.
Data Management
The Import/Export page in the Studio sidebar is the hub for JSON export/import and project-level RPG Maker imports. There are also in-context importers directly inside the zone editor for maps, tilesets, and sprite sheets.
JSON Export
Export all your game definition data as a single JSON file.
- One click — downloads a timestamped JSON file.
- What's included — 25 definition tables: items, abilities, mobs, skills, recipes, resource nodes & spawn rules, mob spawn rules, loot tables, status effects, zones, world config, NPCs, quests, achievements, pets, pet abilities, pet traits, mounts, crafting stations, world events, skill XP rewards, crops, biomes, and wild pet spawn rules.
- Selective export — pass a list of table keys to export only a subset.
- Not included — player characters, inventories, chat logs, and other live runtime data. Media assets (images, audio) are referenced by ID and not embedded.
JSON Import
Import a previously exported JSON file.
Important: JSON import is additive. The importer uses INSERT ... ON CONFLICT DO NOTHING, which means:
- New rows are inserted.
- Existing rows with the same ID are left untouched — the import does not overwrite or merge into them.
- Rows in the database that aren't in the import file are never deleted.
The import result report lists:
- Rows inserted per table.
- Skipped tables (unknown keys or empty arrays).
- Per-table errors (parse failures, constraint violations).
RPG Maker Import (Whole Project)
The RPG Maker Auto Import modal ingests an entire RPG Maker project folder at once. Supports MZ, MV, VX Ace, and VX — the modal auto-detects the version from the project's System.json / System.rvdata2 / System.rvdata file.
It works in both editors, by two different routes. The modal picks the right one for you and shows only the controls that can actually work:
| Where you're editing | How it reads your project |
|---|---|
| Desktop Studio | Reads the folder straight off your computer. Paste the path or use Browse…. |
| Hosted editor (mstudio.ed5enterprise.com) | Our servers have never seen your drive, so your browser reads the folder instead: Choose Project Folder…, and it parses the project locally and uploads what the import needs. |
The hosted route exists because a project's data alone runs to several megabytes — far past what a single request may carry — so the browser parses it into compact data first and sends your art directly to your project's storage. Same importer, same results either way.
How to Use
1. Open Import/Export → RPG Maker Import (or the Studio shows a banner when it detects an RPG Maker project folder next to the app).
2. Point it at your project — the folder that contains the project's data folder:
- Desktop Studio — Browse… opens a native folder picker, or paste the path directly, then click Scan Folder.
- Hosted editor — click Choose Project Folder… and pick the folder. Your browser will ask you to confirm before it reads it; nothing is uploaded until you start the import.
3. The importer reads the project's data/ directory and reports what it found.
4. Pick an import mode:
- Append (default) — adds new rows without touching what's already there. This is the safe option and the one you want for a re-import.
- Replace — deletes existing RPG Maker–tagged rows before importing, for a clean slate. This is destructive: anything you have edited on a previously imported row goes with it. Only pick it when you genuinely want the earlier import gone. Replace only ever removes rows an earlier import created — a zone you built yourself is never deleted, even when it shares a map's name — and before it runs, Review & Delete… shows you exactly what will go ("This will delete N zones, M chunks and K events") with a separate Delete & Import click to confirm.
5. Toggle which categories to import. You can disable any of these individually:
| Toggle | What It Imports |
|---|---|
| Items | Items.json + Weapons.json + Armors.json → ED5 item definitions |
| Food & drink | Hunger/thirst notetags (<hunger: -20>, <thirst: -150> — Bravo HTS and scripts using its tags) → Hunger / Thirst Restore on a Food item. Converted by how long the food keeps you going in RPG Maker, not by its share of the bar, so bread stays a real meal |
| Skills | Skills.json → ED5 ability definitions (damage formula, element, states, range, cooldown — see below) |
| Enemies | Enemies.json → ED5 mob definitions (stats, drops, EXP, gold, level, the skills they use) |
| Troops | Troops.json → ED5 monster party definitions |
| Maps | MapInfos.json + Map###.json → ED5 zones with chunked tile data |
| Events | Map events + CommonEvents.json → ED5 zone events / common events |
| States | States.json → ED5 status effect definitions |
| Variables | RPG Maker variables & switches → ED5 event variables |
| Actors | Actors.json → ED5 character/NPC presets |
| Tileset Images | img/tilesets/*.png → sliced into ED5 tileset definitions (A1–A5 + B/C/D/E sheets) |
6. Click Import. It returns a per-category count + any warnings. In the hosted editor the art is uploaded to your project first, and the modal names the step it's on — a large project takes a few minutes, so leave the tab open. Art already in your project is recognised and skipped, which makes a second import over the same project much quicker. 7. When it finishes, the modal offers Reload Game Data so the running game server picks up the new content without a restart.
How Skills and Enemies Come Across
Skills become abilities that do what the skill did:
| RPG Maker | Ability |
|---|---|
| Damage formula | Base damage + a ratio of one caster stat — 8 + a.mat*3 - b.mdf becomes 8 + 3 × Magic Power. The defender's b. terms are dropped because the engine applies armour and resistance itself |
| Damage type | HP damage, HP recover (a heal), HP drain and MP drain (an absorb) |
| Scope | One or all enemies, an ally, or the user |
| Element | The matching element in your project, by name |
| Add State effects | Status effects, with the skill's own chance |
| Animation | The impact VFX, when the animation is an Effekseer effect (MZ/MV) |
| MP / TP cost | Mana / stamina cost |
| Action-battle note tags | Tool Distance, Tool Cooldown, Tool Cast Time, Tool Size, Tool Graphic and Tool Special (triple, octuple, area) set range, cooldown, cast time, area and projectiles |
A formula with no flat part — a.mat * 4 — imports as Base Damage 0 with a Scaling
Ratio of 4, and still flies, bursts and volleys like any damage spell.
Weapons and armour bring all eight parameters. Six copy straight across (Max HP, Max MP, Attack, Defense, Magic Power, Magic Resist); the other two are rescaled, because the engine stores them as fractions:
| RPG Maker | Item stat | Example |
|---|---|---|
| AGI | Attack Speed ÷ 100 | AGI 5 → +0.05 (5% faster) |
| LUK | Crit Chance ÷ 1000 | LUK 160 → +0.16 (16% crit) |
Items imported before this change carry the raw numbers (a LUK 160 ring reading Crit Chance 160 — always a critical hit). Re-import in Replace mode, or fix Crit Chance and Attack Speed on those items by hand.
Enemies bring their rewards, not only their stats:
| RPG Maker | Mob |
|---|---|
| Drop Items (1 in N) | Loot rows at that chance |
\drop[I12, 25%] note tags | Extra loot rows |
| EXP | XP reward |
Gold + \gold[N] | Silver drop, gold to gold + N |
<set level: N> / <min level: N> | The mob's level |
| Action list | The abilities it uses (Attack, Guard, Escape and Wait are skipped) |
- The import report lists what didn't fit — a formula that reads a variable, a skill that calls a common event, a state or item the project doesn't have, an enemy that scaled across a level range (it arrives at the bottom of the range).
- Re-importing never overwrites your edits. Append mode skips skills and enemies that already exist.
- Replace mode only prunes imported zones, and shows the count first. Only zones, items, mobs, abilities, states, tilesets and actor NPCs that an earlier RPG Maker import created are deleted; a zone you made by hand that shares a map's name is left alone and the summary tells you so. The confirm step shows the exact delete counts before anything runs, and each delete step is all-or-nothing: if one fails, the import stops with a message naming the step and nothing has been removed.
How Switches and Variables Come Across
RPG Maker keeps switches and variables in two separate numbered lists. Your game has one list of event variables, where an on/off variable is a switch. The import fills it like this:
| RPG Maker | Event variable |
|---|---|
| Switch N | Variable N, type Boolean, folder RPG Maker switches |
| Variable N | Variable 5000 + N, type Integer, folder RPG Maker variables, with a text id made from its name |
| Name | Kept exactly as you wrote it in RPG Maker |
| Scope | Player — each player has their own copy |
- Every imported event points at the same ids. "Control Variables 12" in an RPG Maker event becomes a change to variable 5012, and a page condition on variable 12 checks variable 5012. Don't renumber imported variables by hand, or the events stop matching them.
- Why Player scope: an RPG Maker save belongs to one player, so a switch like "Talked to the guard" is that player's progress. Change a variable to Global in Events → Variables if the whole world should share it (a world boss being down, a gate everyone opens).
What Else Gets Imported
Along with the toggles above, the importer also reads:
img/parallaxes/*.png— parallax backgrounds assigned to zones.img/characters/*.png— character sprite sheets, cut into individual characters and linked to imported events.Tilesets.json— used to map each RPG Maker tileset ID to the correct ED5 tileset definitions so imported maps render with the right art.
What Gets Split Up
Your project's art rarely arrives in the shape you want to work with. A single character file holds eight people; a face file holds eight portraits. The import cuts them apart for you, so what lands in your library is the individual character, not the sheet it came in.
| Folder | What you get | Where it lands |
|---|---|---|
img/characters | One sprite per character on the sheet, named Actor1_1 … Actor1_8, already animated for walking, running and standing still | Assets → Sprites, and the media library under RMMZ Characters |
img/faces | One portrait per face | Media library, RMMZ Faces |
img/sv_actors | One sprite per side-view battler, with all eighteen RPG Maker motions (attack, cast, guard, victory and the rest) | Assets → Sprites, RMMZ Battlers |
img/enemies (or Graphics/Battlers) | One sprite per enemy battler | Assets → Sprites, RMMZ Battlers |
img/system/IconSet | Kept as one sheet. Items, skills and states point at a cell of it, and the import measures the cell size from the sheet itself | Media library, RMMZ Icons |
img/tilesets, img/parallaxes | Kept whole — tiles are addressed by their position on the sheet, and a parallax is one backdrop | Media library |
A file whose name starts with $ holds a single character, and the import respects that. A ! prefix is remembered on the asset but does not change how it is cut.
Split characters are trimmed to their artwork, using one frame size for the whole character rather than trimming each frame separately — that is what stops a walk cycle from bobbing as it plays.
What This Changes About Your Imported Maps
Imported map events point at the exact character they were authored with. Before, an event using the fifth person on a shared sheet showed whoever happened to be first. Dialogue portraits work for the same reason: a Show Text command that names a face now shows that face.
Imported actors arrive with their walking sprite and their portrait already set, taken from the character and face their RPG Maker record names. If you have since chosen your own sprite or portrait for one of them, re-importing leaves your choice alone.
Packing Art Into Texture Atlases
An import can add hundreds of separate images, and until they are packed together your game fetches them one at a time. So the import finishes by packing them.
- Leave Pack imported art into texture atlases ticked (it is on by default) and the import packs only the zones it touched, showing its progress as it goes.
- Untick it if you are importing repeatedly and would rather pack once at the end from Assets → Atlas Packer.
- If packing fails it is reported as a warning, not an error. Your project still works; it just loads its art less efficiently until you pack it.
Importing the Same Project Again
Re-importing is the normal way to pick up importer improvements, so it is built to be safe and quick:
- Split assets keep the same identity, so nothing is duplicated.
- Nothing you have added or edited is deleted or overwritten — re-importing only fills gaps.
- Art already in your project is recognised by its contents and is not uploaded again.
- Sheets already cut are not cut again.
Warnings You Might See
| What you might see | What it means |
|---|---|
| "… sheets do not use a standard RPG Maker grid, so they were imported whole" | The image is not a size RPG Maker's character or face grid divides into. Character sheets are still added whole so you can cut them by hand from Assets → Sprites; faces and battlers are skipped. |
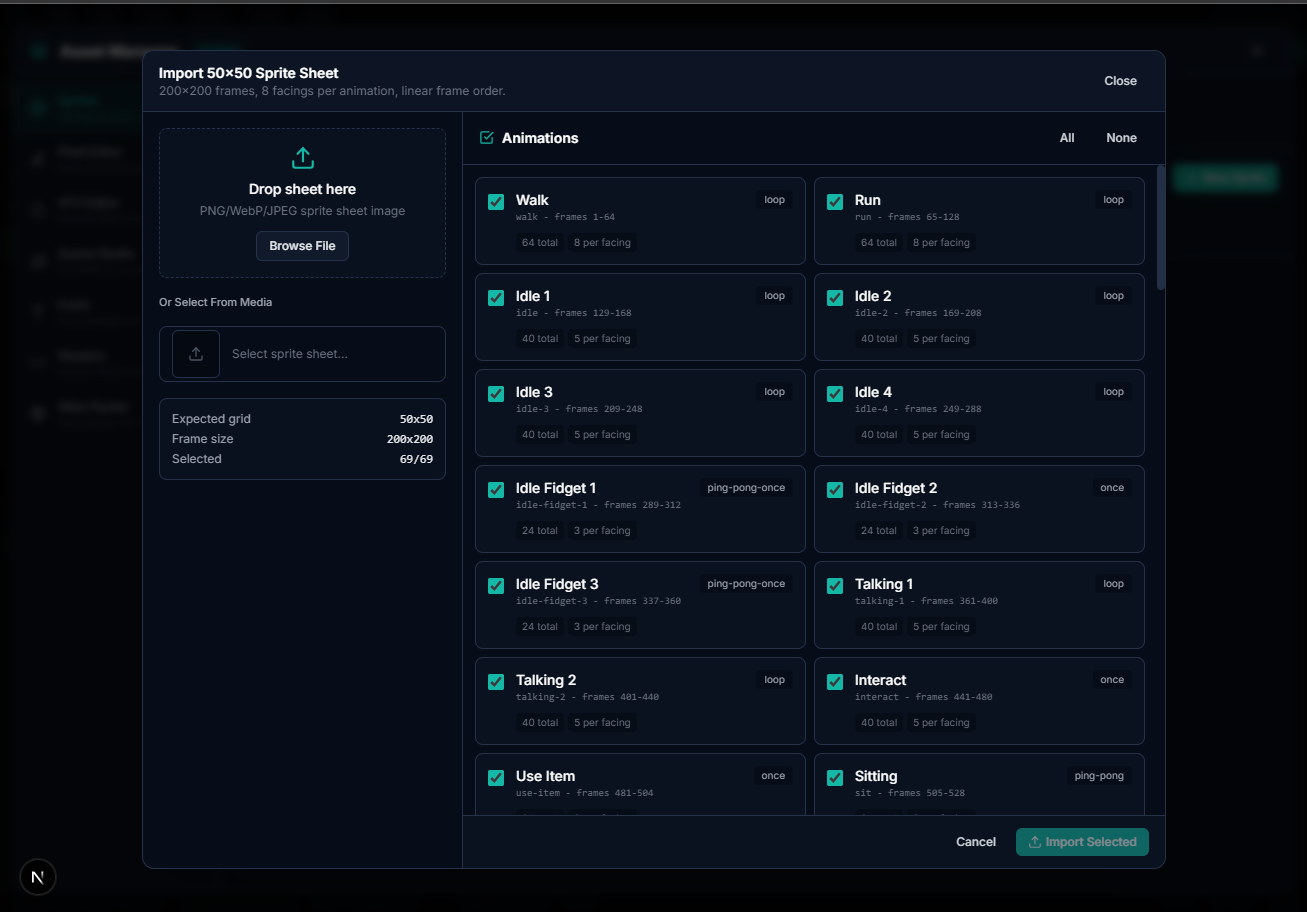
| "… is over what this hosted import can decode" | The sheet is too large to cut in the editor you are using. Import from the desktop app, or cut it yourself with the Sprite Assets importer. |
| "IconSet.png is … not a whole number of … cells" | The icon sheet's size is not a multiple of its cell size, so every icon shows a sliver of its neighbour. Crop the sheet to a multiple of the cell size and re-import in Append mode. |
| Portraits or battlers missing after an import | Faces come across only when Maps and Events are both selected; side-view battlers follow Actors, and enemy battlers follow Enemies. |
| The Atlas Packer says a group did not pack | The warning names the group. Open Assets → Atlas Packer and pack it there to see the detail. |
Collision and Tile Properties
Each tileset carries the tile flags you set in RPG Maker's Tileset tab, and the importer brings them across:
| RPG Maker setting | What it becomes |
|---|---|
| Passage (○ / ×) | Per-direction collision — walls, cliffs and water stay solid |
| Passage (★) | Draws above characters and never blocks movement, so bridges and treetops behave as authored |
| Ladder | Climbable tile |
| Bush | Hides the lower body of anyone standing in it |
| Counter | Lets you talk across the tile |
| Damage Floor | Hurts on contact |
| Terrain Tag | Carried through as the tile's terrain tag |
Passage is resolved exactly as RPG Maker does — upper layers decide first, and a ★ tile falls through to whatever is drawn beneath it.
RPG Maker's four passage arrows are four sides, not a yes/no. A bridge blocks its two long edges so you can't walk off into the river; a cliff top blocks the drop; a counter blocks its back. All of those are tiles you stand on, and only a tile blocked on all four sides is one you can't — and a tile blocked on all four is solid: nothing may stand on it or move through it.
Diagonal movement honours those sides. A diagonal step is a shortcut across one of two L-shaped routes, and players may only take it when at least one of those routes is open — so nobody slips between two tree trunks or around a fence corner that is shut both ways.
The same flags also land on the imported object definitions themselves — the B–E sheet cells that appear in the Objects panel. An impassable tile imports as an impassable object, ★ becomes draw on top, and Ladder / Bush carry across, so hand-placing an imported object on a new tile behaves like the original did in RPG Maker. Object definitions created by an earlier import are all-passable — re-import to refresh them.
> Re-import to pick this up. Maps imported before this shipped were written without their collision, and importing only ever writes new data — it never revisits maps already in your world. Run the import again over the same project to replace them.
Regions
Region IDs painted in RPG Maker (the R layer) come across as biomes — the same system the zone editor's Region layer paints. Every region number used anywhere in your project becomes a biome named Region N with its own color, and each imported tile keeps its region assignment. Switch the zone editor's layer toolbar to Region to see the imported territories, and repaint them with the same brush you use for hand-authored regions. Renaming or recoloring a Region N biome is safe — a later re-import keeps your changes.
> Maps imported before this shipped carried their region IDs as hidden tile attributes only, so the Region view showed nothing. Re-import over the same project to bring them into view.
> VX and VX Ace projects need their RTP. Those versions keep the standard tilesets (Outside_A1, Dungeon_B, …) in a shared Run Time Package rather than in the project, and a sheet the importer cannot find imports as blank terrain. It looks for an installed RTP, an RTP folder placed inside the project, and the ED5_RPGMAKER_RTP_DIR environment variable — and names every sheet it could not resolve in the import warnings.
IconSet.png(img/systemorGraphics/System) — imported once as an icon sheet, and every item, weapon, armor, skill and state keeps its RPG Maker icon as a reference to its cell on that sheet (24px cells for VX Ace, 32px for MV/MZ). No slicing into hundreds of files — one sheet serves them all, in the editor and in-game alike. You can re-pick any icon later, from either place an icon is chosen: in the Media Manager, open an image and press Pick icon cell; on a small inline picker, press Sheet. Both open the same grid — type the cell size once (e.g.64for 64×64) and click the cell you want.
VX Ace and VX Projects
VX Ace (.rvdata2) and VX (.rvdata) projects import directly from the Data/ folder — you do not need to export them to JSON first. Point the folder picker at the project root (the folder containing Game.rvproj2) and the importer reads the binary files itself.
Two differences from MZ/MV are handled for you:
| VX Ace / VX | Becomes |
|---|---|
| 3 tile layers (VX Ace) or 2 (VX) | ED5's floor / overlay / object layers |
| Shadow + region packed into the last tile layer | Separate shadow flags and region IDs, so region → biome mapping still works |
Event pages using condition / graphic | The same page conditions and sprites as an MZ import |
If a single data file is corrupt, the import no longer stops — that file is reported under Warnings and everything else still imports. Check the Warnings list after any VX-era import.
#### The RTP (why a map can import with no terrain art)
VX and VX Ace projects don't ship the standard tilesets. Sheets like Outside_A1, Dungeon_B and Inside_A2 live in the shared RTP (Run Time Package) that RPG Maker installs once and every project borrows from — your project folder only contains the art you added yourself. Check your project's Game.ini for a line like RTP=RPGVXAce.
The importer looks for each referenced sheet in this order:
1. Your project's own Graphics/Tilesets folder.
2. An RTP folder placed inside the project (handy when sharing a project with someone who has no RTP installed — copy the RTP's Graphics folder to <project>/RTP/Graphics).
3. The installed RTP (Program Files (x86)\Common Files\Enterbrain\...), plus the Steam install location.
4. The folder named by the ED5_RPGMAKER_RTP_DIR environment variable, which overrides all of the above.
> In the hosted editor, only option 2 exists. Steps 3 and 4 look at the machine running the editor, which there is our server, not yours — it has no RPG Maker installed and never will. So before importing a VX-era project on the web, copy your RTP's Graphics folder into the project as <project>/RTP/Graphics. Your browser then uploads the borrowed sheets along with the project's own art — and only the ones your tilesets actually name, so an RTP's hundreds of unused sheets cost you nothing.
If a sheet can't be found anywhere, the import tells you: you'll get a warning naming the sheet, the tileset that uses it, and — when the RTP simply isn't installed — what to do about it. Maps that use a missing sheet still import with their full layout, collision and events; they just have no art to draw the terrain with, so they open looking empty. Install the RTP (or point ED5_RPGMAKER_RTP_DIR at it) and re-run the import to fill them in.
Custom B/C/D/E object sheets that aren't the stock 512×512 are accepted too, as long as their size is a whole number of tiles.
How States Map
RPG Maker state semantics translate onto real engine behavior, not approximations:
| RPG Maker | Becomes |
|---|---|
| Remove by Walking (steps) | Remove after tiles walked — one step is one tile, counted as the carrier actually moves |
| Remove at Battle End | Remove when leaving combat |
| Remove by Restriction | Remove when hard-CC'd — breaks when a stun, sleep, fear, charm, confusion or taunt lands |
| Restriction: Cannot move | Stun |
| Restriction: Attack an enemy | Taunt |
| Restriction: Attack anyone / an ally | Confusion — targeting is scrambled onto a random nearby entity |
| Remove by Damage (+ chance) | Remove on damage / remove chance |
| Stat traits / features (VX Ace included) | Multi-stat traits on the effect |
| Parameter trait (a rate, e.g. ATK ×1.25) | A percentage modifier — "+25% attack", resolved against the wearer's own attack, not 25 flat points |
| X-parameter trait (crit, accuracy, evasion, HP/MP regen) | The matching stat modifier, and it counts toward whether the state reads as a buff or a debuff |
| Element Rate | Element resistances granted while the state is held, matched to your elements by name |
| State Rate | Status rates granted — a multiplier on how strongly that status lands on the carrier |
| State Resist | Status immunity to that state |
| Message when afflicted / when removed | The effect's apply and remove floating text |
VX Ace stores stat modifiers under features; they import the same as MZ traits, so a VX Ace Poison keeps its authored drain rate. A step count entered while Remove by Walking is unchecked is ignored, exactly as RPG Maker ignores it.
Known Limitations
- RPG Maker BGM/BGS audio is not imported automatically — add it through the Media Manager if you want it.
- XP-era tilesets are auto-converted to the VX/MZ quarter-47 layout during import.
- Ruby Marshal formats (VX Ace / VX) are read through a built-in Marshal parser; extremely obscure custom plugin data may not round-trip.
- VX Ace has 3 tile layers to MZ's 4, so nothing lands on ED5's topmost tile layer from a VX-era map — you can still paint it yourself in the zone editor.
- State traits with no engine equivalent (skill-type seals, attack elements, special flags) still import the rest of the state and note the skipped trait codes under Warnings.
- Element resistances are matched by element name. A state that resists "Lightening" finds nothing if your project's element is called "Lightning" — the import warns and the rest of the state still lands. Rename either side and re-import to connect them.
- A state's own turn count only becomes a duration when RPG Maker would use it. With Auto-removal Timing set to None the state has no clock at all, exactly as in RPG Maker: it stays until something removes it — walking it off, leaving combat, or taking damage.
RPG Tools Import
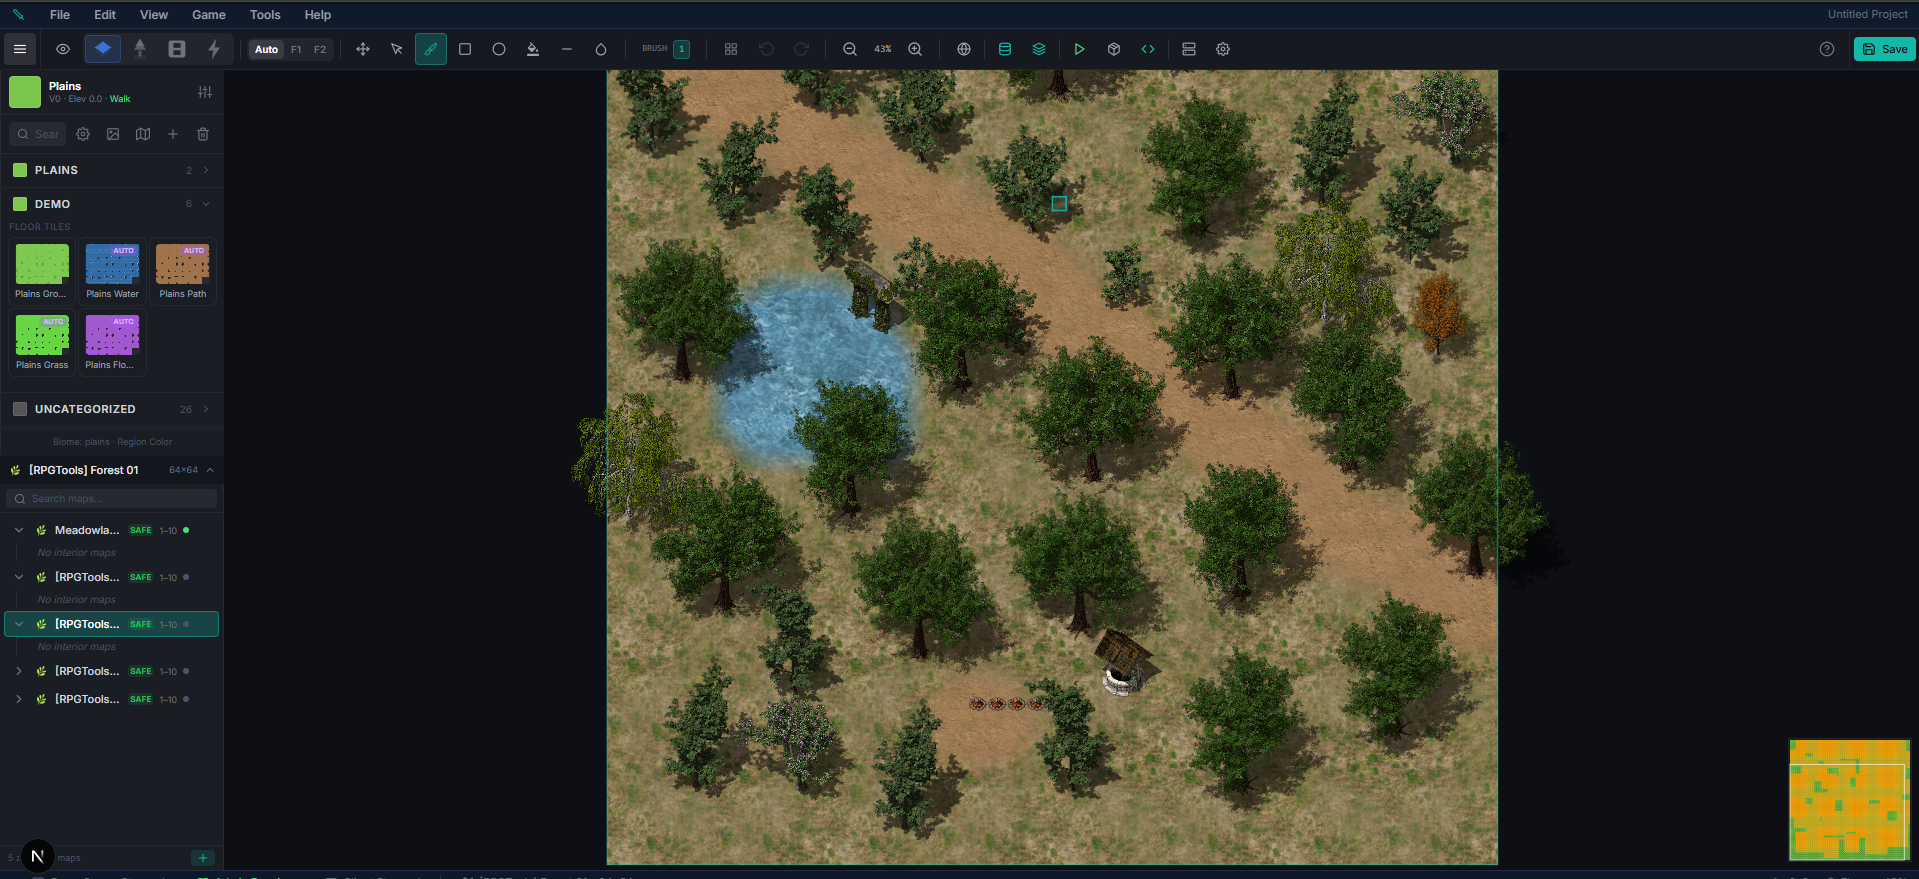
Separate auto-import flow for projects from the RPG Tools editor (look for a data/ folder with Stats.json and/or Items.json).
| Toggle | What It Imports |
|---|---|
| Items | RPG Tools items → ED5 item definitions |
| Abilities | RPG Tools abilities → ED5 ability definitions |
| Unit Effects | RPG Tools effects → ED5 status effect definitions |
| Quests | RPG Tools quests → ED5 quest definitions |
| Classes | RPG Tools classes → ED5 character/mob presets |
| Variables | RPG Tools variables → ED5 event variables |
| Maps | RPG Tools maps → ED5 zones (terrain + objects, with decals for soft-edge blending) |
Map tile images and object images are pulled from the project folder automatically, added to the media library under /rpgtools-tiles and /rpgtools-objects, and wired up as ED5 tileset / map-object definitions. On hosted (Studio Web) projects the importer only keeps the images your maps actually reference and streams them to Supabase Storage as content-addressed URLs (not inlined base64), so imports stay within upload limits.
Character Sheets Are Cut Into Per-Animation Sheets
An RPG Tools character or equipment sheet is one enormous image — around ten thousand pixels square — holding every animation the pack ships. Your game only ever plays one animation at a time, and a sheet that size has to be shrunk before a graphics card will accept it, which is why imported characters used to look soft.
The import now cuts each of those sheets into one small sheet per animation. You do not have to do anything: characters and equipment pieces render at full resolution afterwards. Creature sheets use a different layout and are imported as they are.
If a sheet is too large to cut where the import is running, it is kept whole and the import says so — the character still works, it is just the older, softer result.
Packing Art Into Texture Atlases
Same as the RPG Maker import: Pack imported art into texture atlases is ticked by default and runs once, after every map has finished importing, on only the zones the import touched. Untick it to pack later from Assets → Atlas Packer.
In-Zone Importers
These importers live inside the zone editor so you can bring in a single map or a single tileset without running the full project import.
Per-Map RPG Maker Import
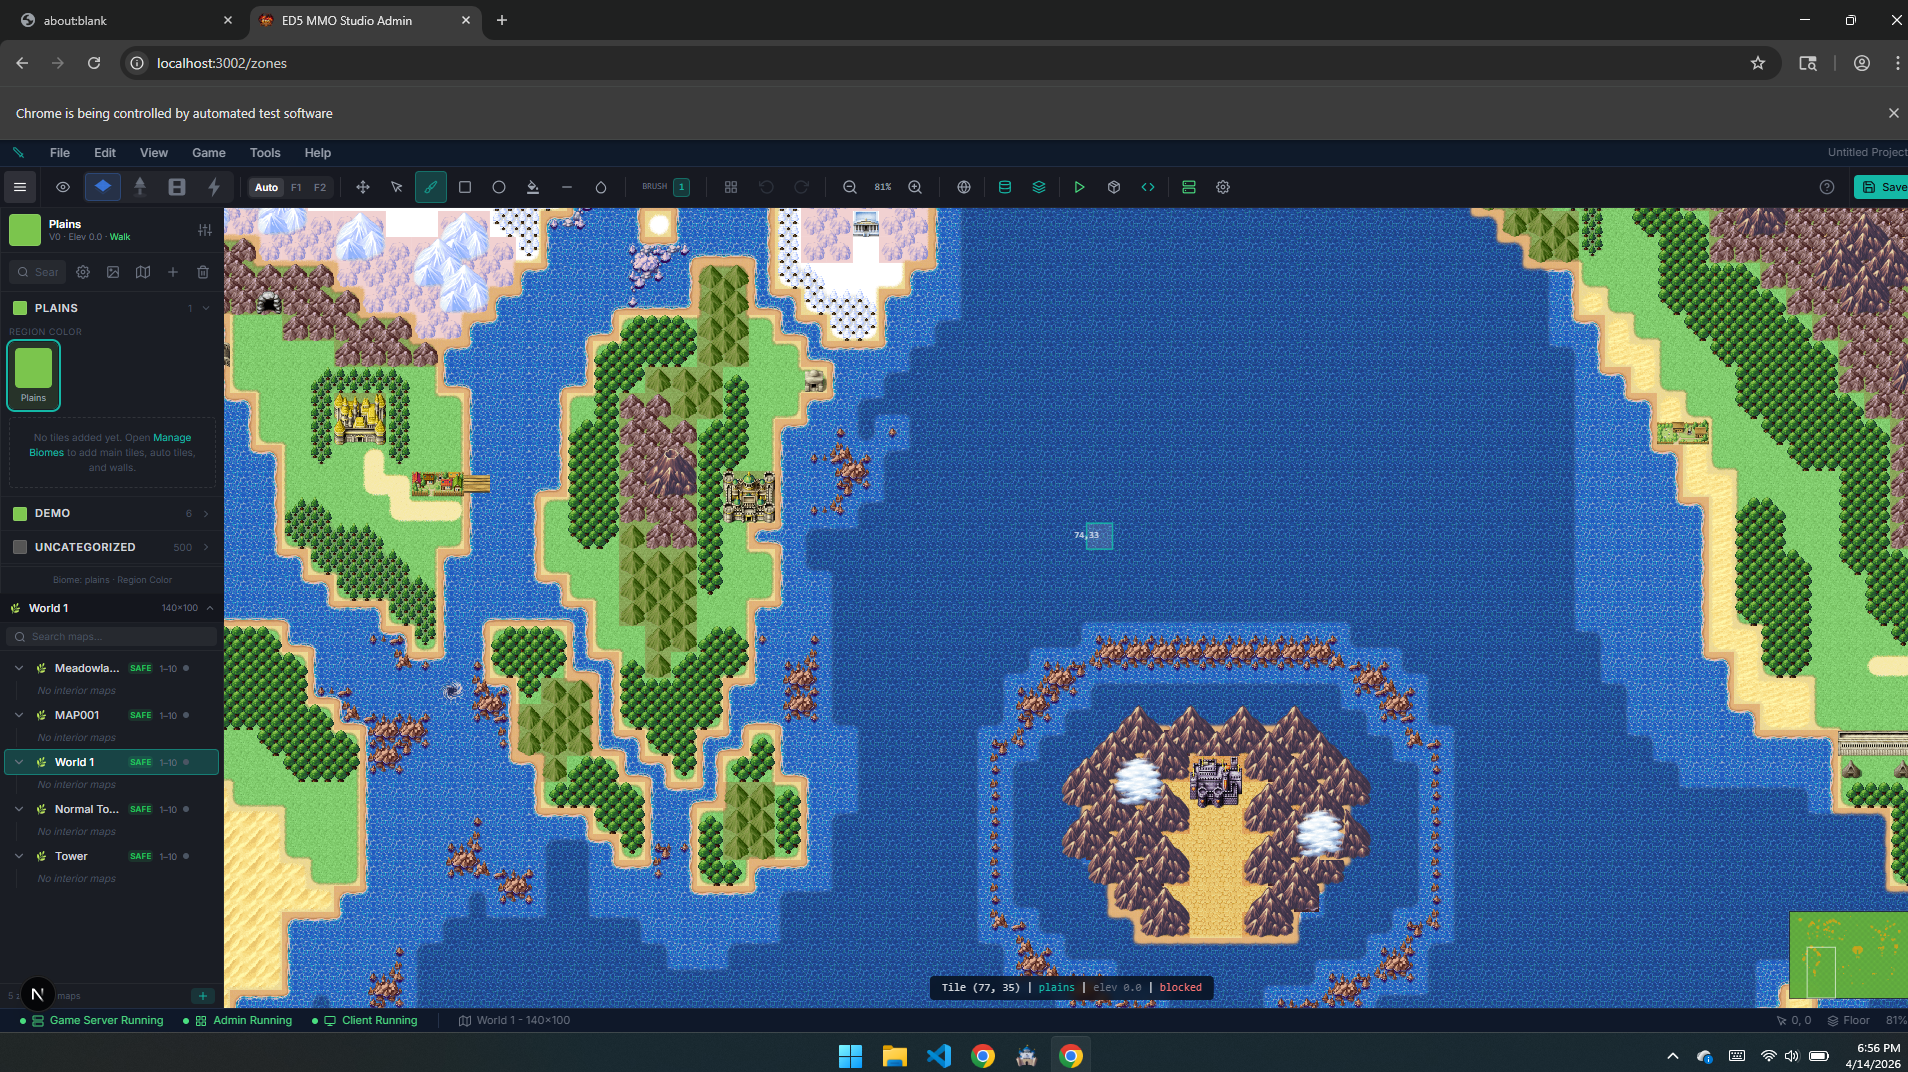
In the zone editor, File → Import RPG Maker Map opens a modal where you can drop:
- A single
Map###.json. - Optionally,
Tilesets.jsonfrom the same project so blocks resolve correctly. - Optionally, the matching
img/tilesets/*.pngfiles so missing tileset definitions can be auto-created. - Optionally,
img/characters/*.pngfiles so event graphics render with cropped character sub-sheets.
Per-Map RPG Tools Import
Same idea for RPG Tools: drop a single map .json plus its catalog .json. The modal auto-matches each tile image to existing ED5 tilesets by tag or name, falls back to creating new fake tilesets from media items, and flags any unresolved tiles so you can pick something manually before applying.
Static Tile Import
For one-off tile art (not from RPG Maker), Static Tile Import in the zone editor lets you:
- Upload a single PNG and slice it into fake tileset definitions (select the cells you want).
- Upload multiple PNGs in batch mode — each file becomes its own 1×1 static tileset.
/imported-static and can be tagged to a biome.
RPG Maker Tileset Spritesheet Import
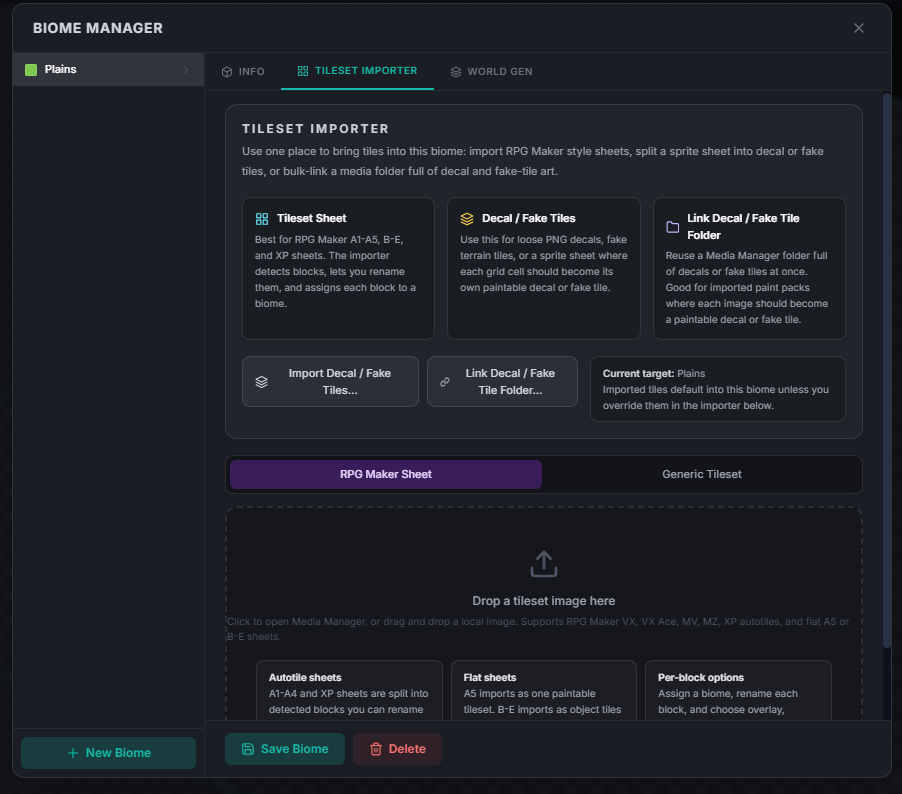
Separate from the whole-project flow, the RPG Maker Importer Panel in the zone editor takes a single RPG Maker tileset PNG (A1, A2, A3, A4, A5, or B/C/D/E) and:
- Auto-detects the sheet type and dimensions.
- Lets you pick which blocks to import.
- Supports per-block overrides for waterfall and overlay autotile types.
- Converts XP-era tilesets to VX-layout quarter-47 on the fly.
Export-Less Authoring (Assets from Scratch)
Not an importer, but worth mentioning alongside asset pipelines. The Studio includes:
- Pixel Editor — paint pixel art with layers, frames, onion skinning, palettes.
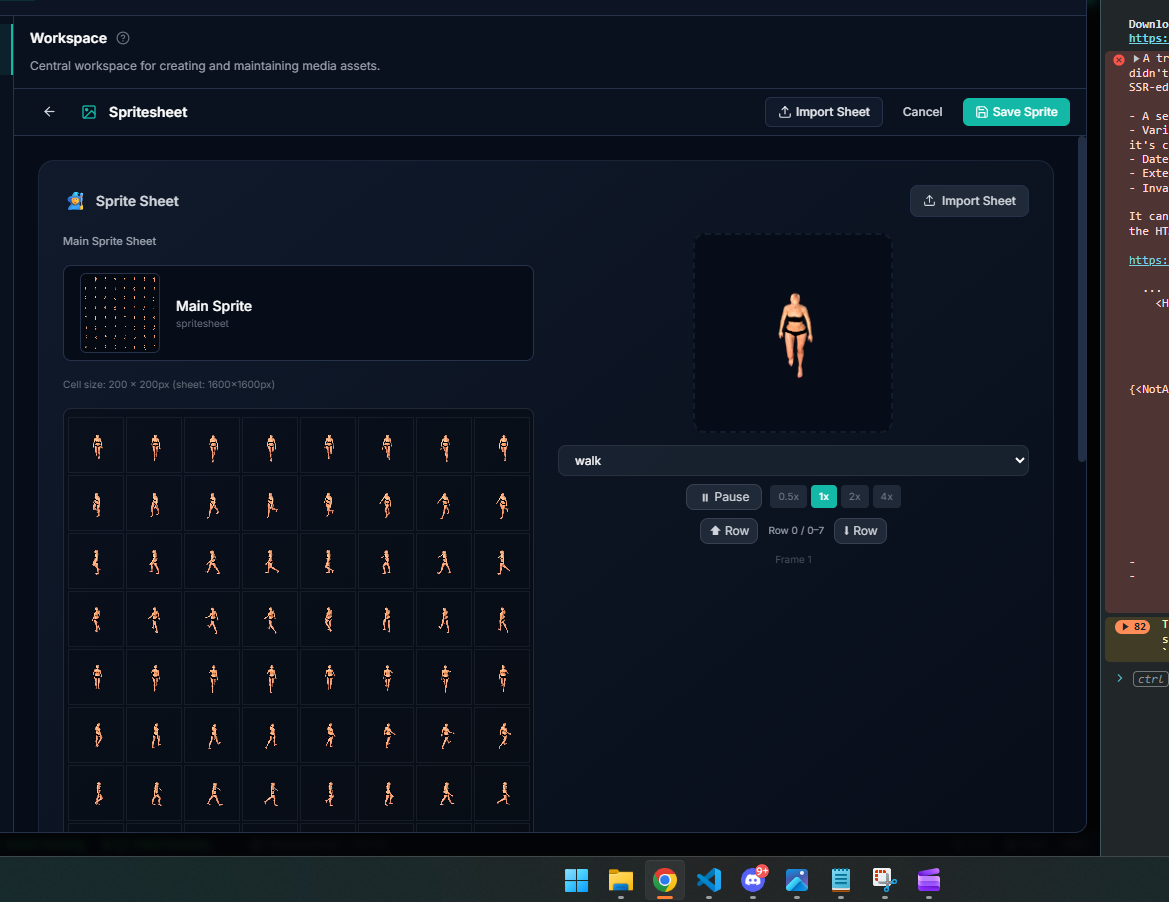
- Sprite Editor — assemble a character sheet with standard (idle/walk) and combat (attack/hurt/death/cast) animation presets.
- Tile Maker — crop a sheet into a tileset definition with collision and terrain-tag metadata.