Your first 10 minutes building a game.
Quick Start Tutorial
This tutorial walks you through creating your first zone, adding content, and play-testing — all within the Studio app.
Step 1: Create a Zone
1. Studio opens in Zones by default, so you can start in the world editor immediately 2. In the left map browser, click Create first zone or the + button to add a new root map 3. Give it a name like "Starting Village" 4. Choose a default biome (e.g., Plains) 5. Set PvP rules to Safe so players can't attack each other here
The new zone opens in the main editor canvas, ready to paint.
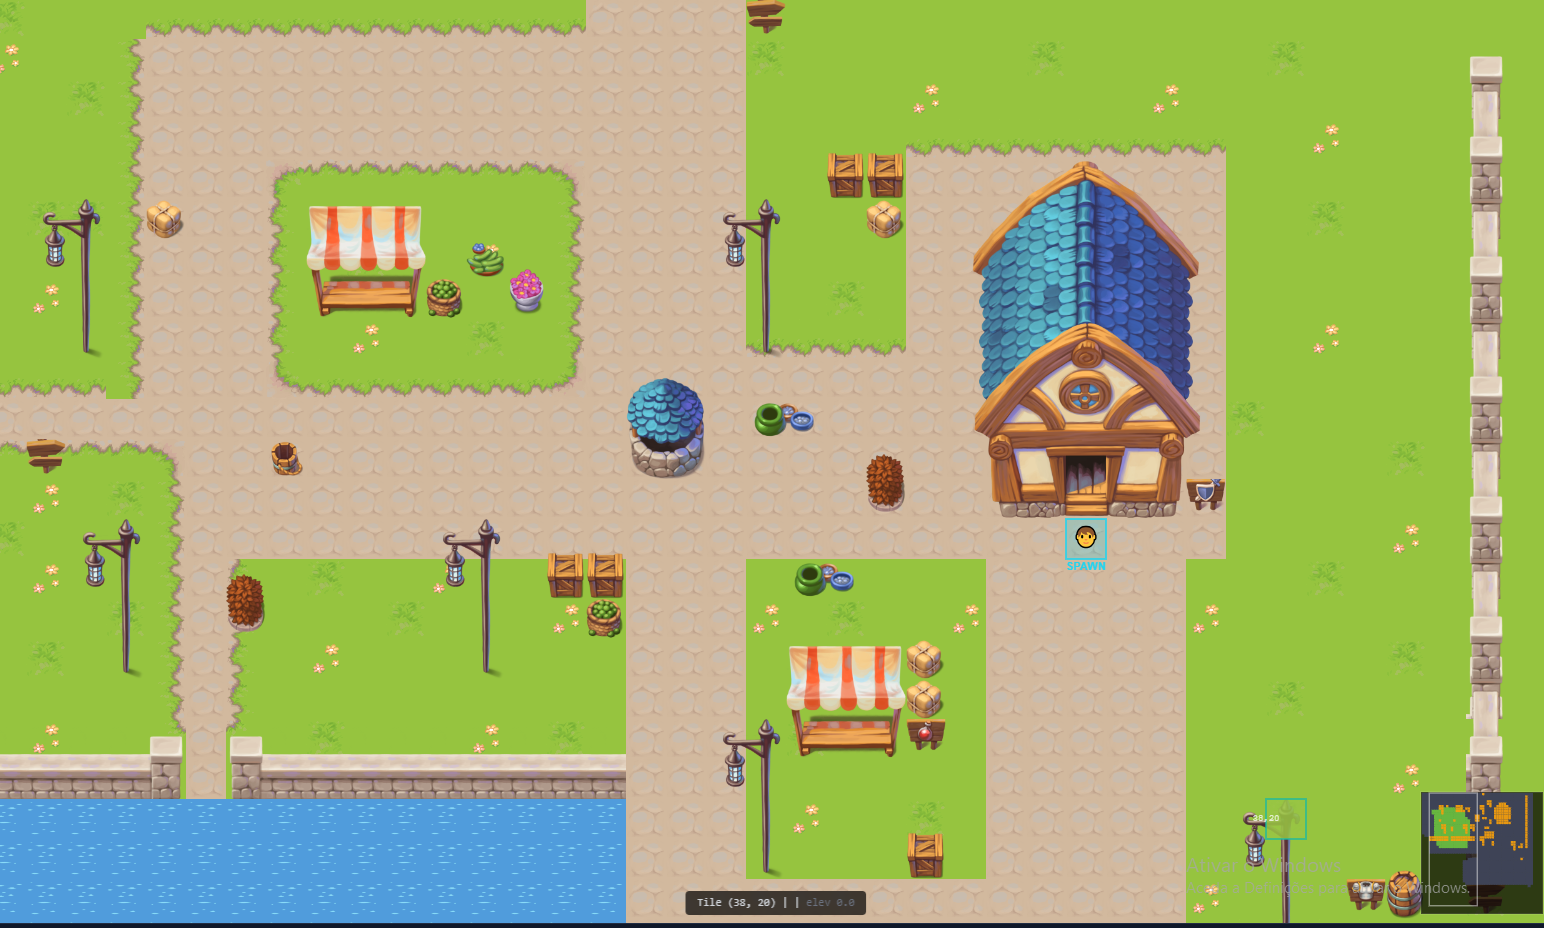
Step 2: Paint Your Map
Use the toolbar to paint terrain:
| Tool | Key | What It Does |
|---|---|---|
| Pencil | P | Paint single tiles |
| Rectangle | R | Fill rectangular areas |
| Circle | C | Fill circular areas |
| Flood Fill | F | Fill connected regions of the same type |
| Eraser | E | Remove tiles or objects |
| Eye Dropper | I | Copy a tile from the map |
| Hand | H | Pan the view by dragging |
Select tiles from the palette on the side, then paint them onto the map. Switch between layers to place ground tiles, mid-height objects (fences, bushes), and taller objects (trees, buildings).
Step 3: Create Some Items
1. Use the left app sidebar to open Items 2. Create a new item from the Items page 3. Make a simple weapon — set the name, choose "Sword" as the type, set T1 tier, and configure some base damage 4. Create a health potion — set type to "Consumable" and configure it to restore HP
Step 4: Add a Mob
1. Use the left app sidebar to open Mobs 2. Create a new mob from the Mobs page 3. Name it "Forest Slime" 4. Set HP, Attack, Defense, and Level 5. Choose an AI behavior (Aggressive = attacks on sight, Docile = only fights back) 6. Add your sword to its loot table so players can earn it by fighting
Step 5: Create an NPC
1. Use the left app sidebar to open NPCs 2. Create a new NPC from the NPCs page 3. Name them "Village Elder" 4. Set their zone and position on the map 5. Link a quest or shop to make them interactive
Step 6: Build a Simple Quest
1. Use the left app sidebar to open Quests 2. Create a new quest from the Quests page 3. Name it "Clear the Slimes" 4. Add a Kill objective: defeat 5 Forest Slimes 5. Set rewards: 50 gold and 100 XP 6. Link the Village Elder as the start and end NPC
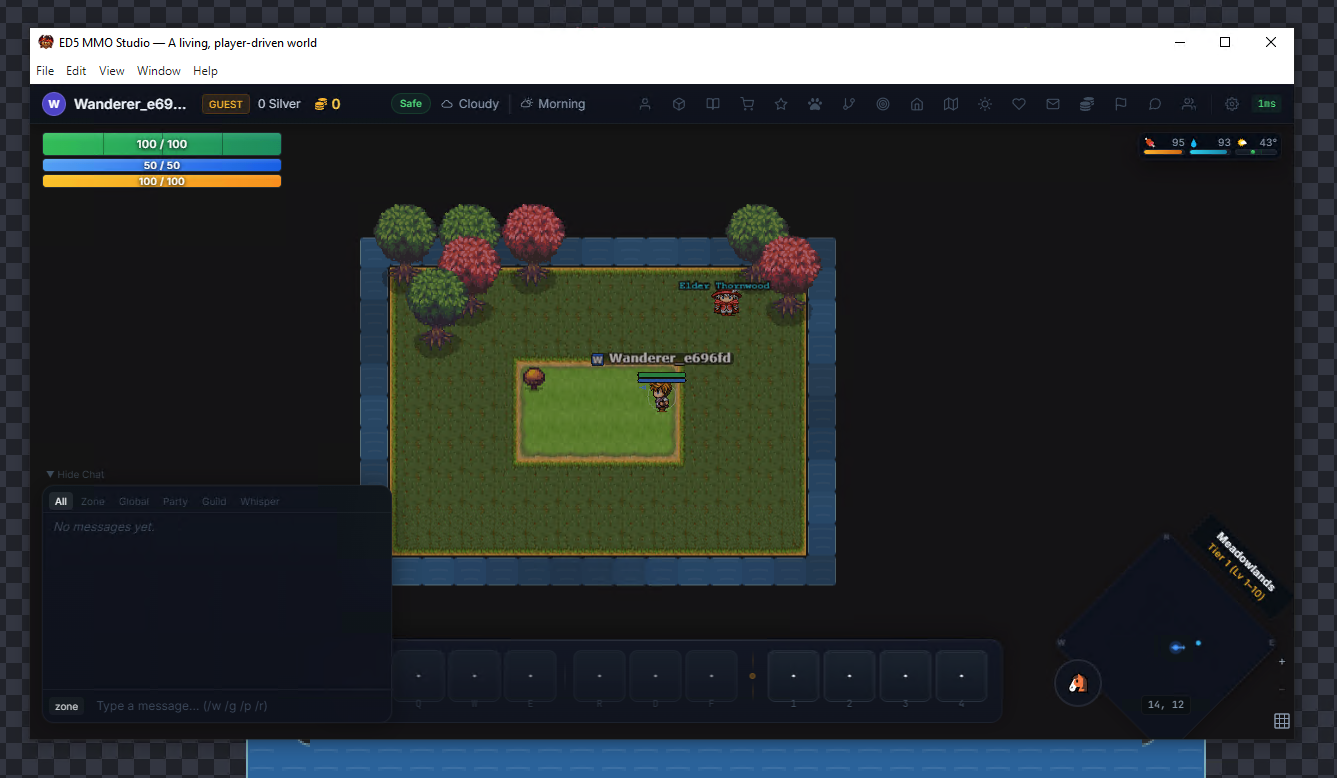
Step 7: Play Test!
Click Playtest in the Studio toolbar to launch the game client. You can:
- Click to move around the zone you painted
- Talk to the Village Elder to accept your quest
- Fight Forest Slimes using abilities from the action bar
- Turn in the quest for gold and XP rewards


What's Next?
- Map Editor — learn all the painting and event tools
- Items & Equipment — weapons, armor, crafting materials
- Combat & Pets — combat mechanics, pet battles, mounts
- Quest System — quest types, objectives, and rewards
- Economy & Social — marketplace, guilds, housing